
Interactive Roof Design Tools in HTML, CSS, and JavaScript: A Practical Buying Guide

If you are comparing browser-based roof design tools built with HTML, CSS, and JavaScript, the first thing to sort out is what kind of tool you actually need. Some browser tools are little more than visual demos. Others help with roof layout, material selection, and rough estimating. A few are built to support contractor workflows, client presentations, and documentation.
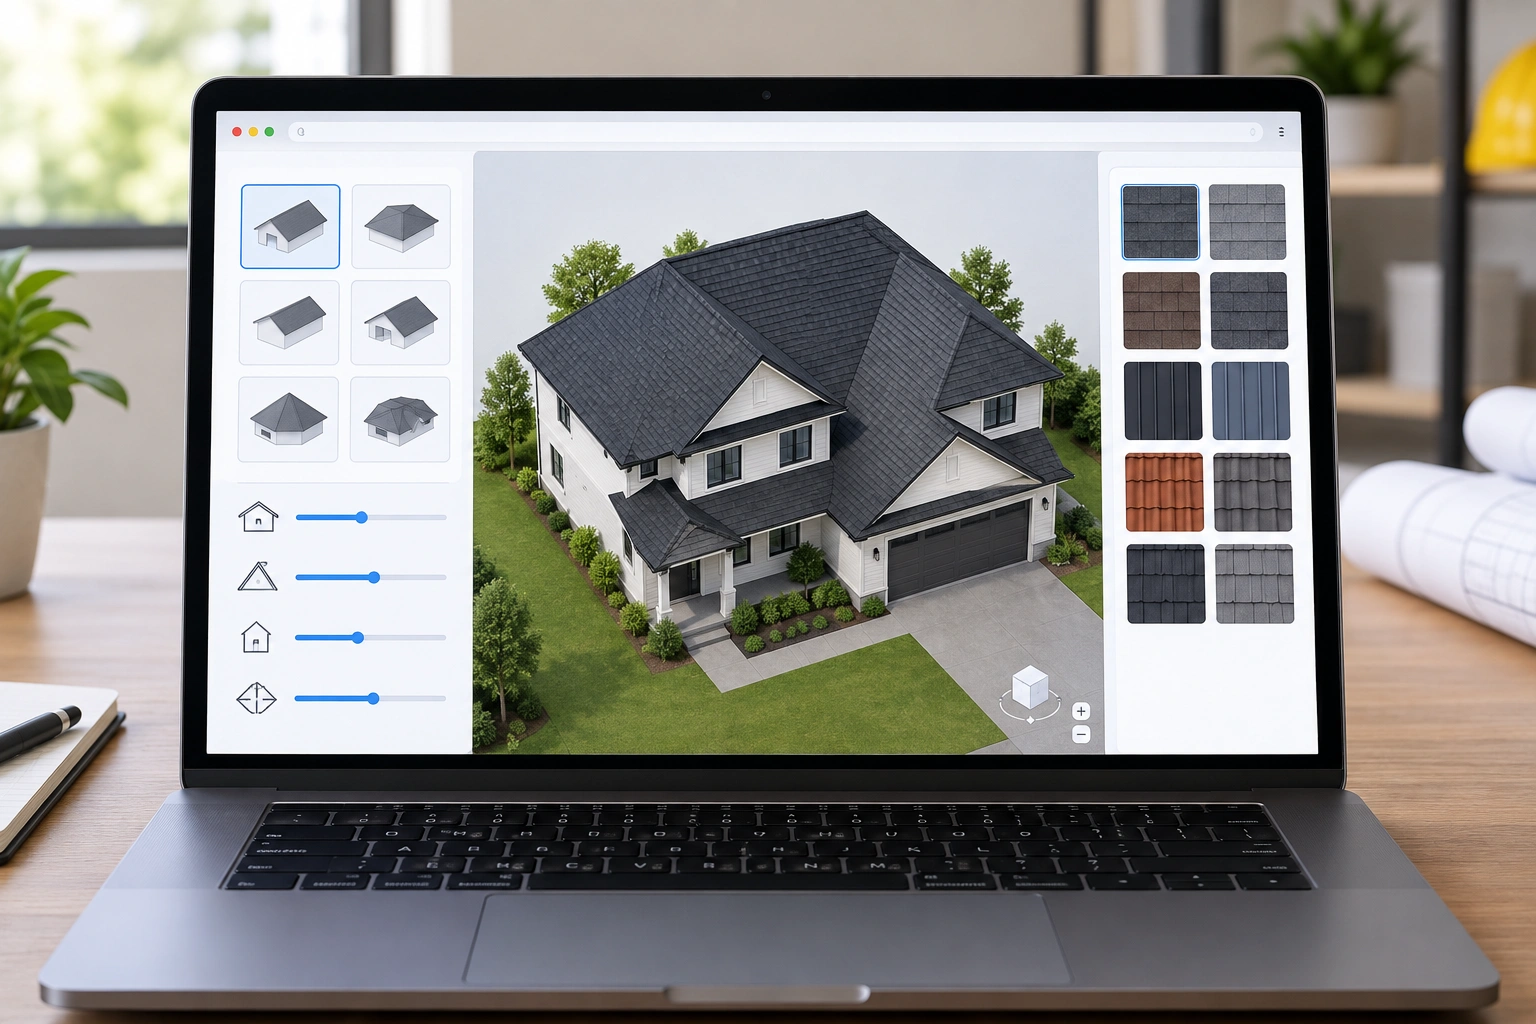
That difference matters. A polished interface can look professional and still be weak on measurement logic. On the other hand, a plain-looking tool can be very useful if it handles roof geometry, outputs, and sharing cleanly.
For contractors, the best tool is usually the one that helps you move from conversation to usable numbers fast. For homeowners, the best tool is the one that makes roof style, color, and shape easier to understand before you spend money. For web developers building a custom roof tool, the real question is whether the app is meant to visualize, estimate, or support a sales process.
What an Interactive Roof Design Tool Actually Does
At the simplest level, an interactive roof design tool lets a user change roof shape, pitch, color, or materials and see the result on screen. In browser-based tools, that interaction is usually built with HTML for structure, CSS for layout and appearance, and JavaScript for the calculations and live updates.
The minimum difference between a simple demo and a practical tool is whether the app can accept basic roof inputs and turn them into something usable. A demo may let you click through roof styles. A practical tool should let you enter real dimensions, define the roof type, and produce an output you can act on.
That can be useful in three different ways:
- Visualization: show how a gable, hip, or shed roof changes the look of a home
- Planning: help users compare roof styles, slopes, and materials before a project starts
- Estimating: calculate roof area, material quantities, or rough cost ranges
The key is not to confuse those three jobs. A visualizer may help a homeowner choose between architectural shingles and metal panels. It may not be suitable for ordering material unless the geometry and waste factors are handled carefully.
A useful roof design tool should also accept the minimum inputs needed to do something meaningful. In practice, that usually means:
- roof dimensions so the tool can establish scale and area
- roof pitch or slope so the tool can adjust surface area correctly
- roof type so the layout matches the actual geometry
- openings or cutouts if the tool is expected to handle more than a simple rectangle
- desired output type so the user knows whether they are getting a visual mockup, a rough takeoff, or a shareable report
Some vendors go beyond simple visuals. Planner 5D says roof design software can let users create a detailed roof layout, choose roofing materials, adjust slope and drainage systems, and share the design with contractors or clients. That is the level where a tool begins to support actual project planning, not just window shopping. Planner 5D roof design software
Who These Tools Are For: Contractors, Homeowners, and Web Developers
Contractors
Contractors usually want speed, clarity, and something they can show in front of the customer. A browser tool is useful if it helps you explain roof options without opening full CAD software during a sales call.
A good contractor-facing tool should support:
– basic roof types
– quick dimension entry
– material selection
– shareable outputs
– mobile use on site or in the truck
If it cannot help you move toward a quote, it is probably a demo rather than a working tool.
DIY homeowners
Homeowners usually care more about understanding than calculating. They want to see how a roof style looks on their house, compare colors, and avoid making a bad visual choice.
For that user, a good tool should be simple enough to use without training. Renoworks says its free roof designer can be used to visualize products and colors on a sample home or by uploading a photo of a project. That is the right kind of workflow for a homeowner who wants to explore ideas before calling a contractor. Renoworks roof designer
Web developers
Developers building a custom roof tool need to think like the end user first. A pretty interface is not enough. The app needs a clear purpose: visualizer, estimator, lead generator, or all three.
If the tool is for a roofing contractor, the developer should prioritize:
– fast input handling
– reliable calculations
– responsive layout
– export or sharing
– simple edit flow for field use
If the tool is for homeowners, reduce friction. Fewer fields usually beat more fields.
Key Buying Criteria for a Useful Roof Design Tool
Before you choose a tool, check these categories in order.
1. Roof geometry inputs
A useful tool should accept the basics:
– roof length and width
– pitch or slope
– roof type
– overhangs, where relevant
– openings or cutouts, if the tool supports them
Without those inputs, the app is mostly a color picker.
2. 2D versus 3D
A 2D planner is usually better for quick layout and measurement. A 3D visualizer is better for presentation and client confidence. If the tool tries to do both, make sure it does neither poorly.
3. Responsiveness
If the tool is browser-based, it should work on desktop and mobile screens without breaking the layout. Roofing work happens in the field, not just at a desk.
4. Output and sharing
A tool becomes more useful when it can export a summary, save a design, or share a link or PDF. That is what turns a demo into part of a workflow.
5. Accuracy and verification
The app should show its assumptions clearly. If it estimates area, pitch, or materials, you need to know what it is including and what it is not.
6. Workflow fit
Ask whether the tool helps with sales, estimating, or design review. If you cannot describe the workflow in one sentence, the tool may be too vague to justify.
2D Roof Planners vs 3D Roof Visualizers
This is one of the most important trade-offs.
A 2D roof planner is usually faster and easier to use. It works well for dimensions, slopes, and rough takeoff. If you want to know whether a roof is a simple gable or a more complex hip layout, 2D gets you there quickly.
A 3D roof visualizer is better when the customer needs to see the final look. That matters when you are selling color, profile, or curb appeal. GAF’s virtual home remodeler is designed to help users visualize a new roof and other exterior changes, and it says the tool helps communicate that vision to a roofing contractor. GAF Virtual Home Remodeler
The trade-off is simple:
- choose 2D when you need speed and measurement clarity
- choose 3D when you need presentation value
- choose both only if the tool keeps the experience clean
A complicated 3D interface can actually slow down a contractor who just needs a rough estimate.
How Accurate Are Browser-Based Roof Design Tools?
Accuracy depends on the inputs and the tool’s math, not just the browser.
A browser-based roof tool can be useful for rough planning if the user enters correct dimensions and pitch. But it should not be treated as the final authority on material ordering or build decisions unless the vendor clearly documents that level of accuracy.
A better way to think about accuracy is to separate visualization-grade tools from estimate-grade tools:
- Visualization-grade tools are accurate enough to show shape, style, and general appearance. They may be fine for homeowner decisions and early sales conversations.
- Estimate-grade tools need to calculate roof area, pitch-adjusted surface area, and waste in a way that is transparent enough to support rough material planning.
Here is the practical rule: if the tool does not show how it handles pitch, waste, and roof complexity, assume it is for visualization first and estimating second.
Some tools do support more serious measurement workflows. iRoofing says its app can use a satellite, drone, or HD aerial image of a property, or an architect’s blueprint, and then measure roof parts with tools that calculate roof measurements. It also says users can select materials from a digital catalog of roofing manufacturers’ products. That is much closer to a contractor workflow than a simple visual demo. iRoofing roof design app
Still, no tool removes the need to verify real-world conditions. Valleys, dormers, irregular edges, damaged decking, and site conditions can change the job in ways the screen does not show. For that reason, browser tools are usually accurate enough for early takeoff or material planning only when the roof is simple and the measurements are already reliable.
Free Tools vs Paid Platforms vs Custom-Built Solutions
Free tools
Free tools are fine when the job is exploration. They are useful for homeowners, sales conversations, and quick visual comparisons. Renoworks is a good example of a free online roof designer that supports product and color visualization.
The limitation is usually depth. Free tools often stop short of serious takeoff, export, or workflow integration. For a homeowner, that may be enough. For a contractor, it may only be useful as a front-end visual aid.
Paid platforms
Paid tools are worth considering when you need consistency, support, and contractor-oriented output. A paid platform is usually justified if it saves time on repeated estimates or helps close more jobs through better presentations.
GAF’s commercial Build Your Roof tool is an example of a more advanced workflow. It is positioned as a commercial planning tool with options for assembly selection, product compatibility checks, documentation, and code-related guidance. That is the kind of feature set that moves a tool from “visualizer” to “project support.” GAF Build Your Roof
Custom-built solutions
Custom tools make sense when your process is specific. For example, a roofing company might want a browser app that:
– captures lead information
– visualizes roof options
– calculates rough materials
– exports a branded summary
That is where HTML, CSS, and JavaScript are a strong fit. The browser is easy to access, and the app can be tailored to your sales process. The downside is that you own the maintenance, testing, and accuracy checks.
Which option fits which user?
- Homeowners: free tools are usually enough if the goal is visual comparison and simple decision-making.
- Contractors: paid platforms or custom-built tools usually make more sense when the goal is repeatable estimating, sharing, and workflow efficiency.
- Developers or agencies building for a roofing business: custom-built browser tools are best when the company needs a branded experience or a very specific sales process.
When to Choose Dedicated Roofing Software, CAD, or BIM Instead
Browser tools are not the answer for every job.
Choose dedicated roofing software, CAD, or BIM when you need:
– more detailed documentation
– structural or assembly-level planning
– tighter coordination with other trades
– formal output for complex projects
Browser-based tools are weak when the work depends on precise assemblies, layered documentation, or coordination across multiple systems. For example, a simple roof tool may show the shape of a hip roof, but it will not usually document framing details, generate construction sheets, or coordinate with mechanical and structural models the way CAD or BIM can.
Cedreo says its roof design software is for professional builders, remodelers, and contractors, and that it can be used after creating a project’s foundational layout. That is a better fit when roof design is part of a broader building workflow, not just a standalone visual. Cedreo roof design software
Use this rule:
– browser tool for speed, visualization, and rough estimating
– roofing software for repeatable contractor workflows
– CAD/BIM for deeper documentation and coordination
If the roof is simple, the browser may be enough. If the project is complex, the browser should be the front end, not the final system.
Common Limitations and Red Flags to Watch For
A tool can look impressive and still be weak in practice. Watch for these problems:
No clear measurement logic
If the tool does not explain how it calculates area or pitch, treat the numbers as rough.
Missing waste handling
Real roofs waste material. If the tool never mentions waste factor, it may understate quantities.
Poor mobile usability
If the interface is hard to use on a phone, it will be a problem in the field.
Photo-only visualizers with no geometry support
These are fine for color selection, but they are not enough for estimating.
No export or sharing
If you cannot send the result to a customer or crew, the tool may be a dead end.
Overpromised accuracy
Be cautious if the tool implies it can replace site verification, especially on irregular roofs.
Best-Fit Recommendations by Scenario
If you are a homeowner comparing roof styles
Use a simple visualizer with photo upload or sample-home support. Focus on appearance, not measurement depth.
If you are a contractor doing sales presentations
Choose a browser tool that supports fast changes, clear visuals, and shareable output. That helps you show options without slowing down the meeting.
If you are rough estimating
Pick a tool that accepts dimensions, pitch, and roof type, and shows how it handles waste. Do not rely on appearance alone. If the roof is simple and the tool is transparent about its math, it may be accurate enough for a preliminary material takeoff. If the roof is complex, use professional measurement or verify the numbers before ordering.
If you are building a custom lead-gen workflow
A browser app built with HTML, CSS, and JavaScript is a smart starting point. Make sure it collects the right inputs and produces a clean summary the salesperson can use.
If you need code support or assembly guidance
Use a more advanced platform with documentation and compatibility checks. That is where specialized roofing software earns its keep.
What to Check Before You Buy or Build One
Before you commit, run through this checklist:
- Can the tool handle your roof type?
- Does it support the level of detail you actually need?
- Are the results easy to share with a customer or crew?
- Does it work well on the devices you use in the field?
- Are the calculations explained clearly?
- Does it fit your workflow, or does it force you to change it?
- If it is custom-built, who will maintain it after launch?
For contractors, the best tool is usually the one that saves time without creating new guesswork. For homeowners, the best tool is the one that makes the roof easier to understand before anyone starts pricing the job. For developers, the best tool is the one that solves one roofing problem cleanly instead of trying to do everything at once.
When to Call a Roofing Pro
If the roof is damaged, complex, steep, or tied to structural concerns, bring in a roofing professional before relying on any browser-based design tool. An interactive app can help you plan and visualize, but it should not replace an on-site inspection when the job involves leaks, hidden damage, or unusual geometry.
A good design tool helps you make better decisions. It does not replace judgment.
FAQ
Can an HTML, CSS, and JavaScript roof tool be used for real estimates?
Yes, but only if it has solid geometry inputs, clear calculation rules, and sensible waste handling. Treat the output as a working estimate until you verify it on site.
What’s the biggest difference between a visualizer and an estimator?
A visualizer helps you see the roof. An estimator helps you price or plan the job. Some tools do both, but many do only one well.
Is 3D always better than 2D?
No. 3D is better for presentation. 2D is often better for speed, layout, and rough measurement. If you only need one, choose the one that matches the job.
Can homeowners use these tools without roofing knowledge?
Yes, if the interface is simple and the inputs are limited. Photo upload and product comparison tools are usually the easiest for non-professionals.
What should I avoid in a roof design tool?
Avoid tools that hide their assumptions, skip waste factor, ignore mobile use, or promise more accuracy than they can realistically deliver.
When is a browser-based tool accurate enough for material takeoff?
Usually only when the roof is simple, the measurements are trustworthy, and the tool clearly explains how it handles pitch and waste. For complex roofs, professional measurement is still the safer choice.