
Roof Pitch Calculator Tool: How to Measure, Compare, and Use Roof Slope Correctly

A roof pitch calculator tool is one of those simple jobsite helpers that saves time when the numbers matter. Give it rise and run, and it turns that measurement into roof pitch, angle, percent, and often rafter length. That matters whether you are ordering shingles, checking whether a roof is low-slope, or verifying a field measurement before you quote a job.
The big advantage is speed with fewer math mistakes. The bigger advantage is consistency. If you and your crew are all reading the same pitch result in the same format, you are less likely to order the wrong materials or misjudge labor on a steep section.
What a Roof Pitch Calculator Tool Does
At its core, the tool converts a roof’s rise over run into a usable slope reading. In plain terms, rise is the vertical change and run is the horizontal distance. A calculator can turn that into a pitch ratio like 6:12, a degree reading, a percent grade, and sometimes a rafter length.
For a quick calculation, the standard formulas are straightforward:
- Pitch ratio = rise : run, often expressed as x:12
- Degrees = arctan(rise ÷ run)
- Percent grade = (rise ÷ run) × 100
Here is a worked example using a 6-inch rise over a 12-inch run:
- Pitch ratio: 6:12, which simplifies to 1:2
- Degrees: arctan(6 ÷ 12) = arctan(0.5) ≈ 26.6°
- Percent grade: (6 ÷ 12) × 100 = 50%
If the roof rises 8 inches over 12 inches of run, the result is:
- Pitch ratio: 8:12
- Degrees: arctan(8 ÷ 12) ≈ 33.7°
- Percent grade: 66.7%
For roofers and contractors, that means fewer hand conversions in the field. For DIY homeowners, it means a clearer answer before buying materials or deciding whether the roof is something you should even be tackling yourself.
Roof Pitch vs. Roof Angle vs. Rise Over Run
These terms get mixed up all the time, and the confusion causes bad estimates.
Rise over run is the measurement method.
Roof pitch usually means the ratio written as x:12, such as 4:12 or 8:12.
Roof angle is the angle in degrees.
A roof can have the same physical slope described three different ways. A 6:12 roof pitch means the roof rises 6 inches for every 12 inches of horizontal run. That same slope can also be expressed as an angle in degrees or as a percent grade.
Here is the practical difference:
- Pitch ratio is easiest for roofers who think in common roofing terms.
- Degrees are useful when talking to engineers, designers, or anyone using trigonometry-based tools.
- Percent grade is handy for comparing slope in a more general way, especially when a calculator or app shows that output directly.
A good roof pitch calculator tool should make those conversions clear instead of forcing you to guess which format it uses.
How to Measure Roof Pitch Safely
Measuring pitch on an actual roof is where many people get sloppy. That is a mistake. A steep, wet, icy, or damaged roof is not the place to improvise.
If you can verify the pitch without climbing, do that first. Safer options include measuring from an attic, reading the slope from the roof framing if it is exposed, or checking from an eave or ladder edge when you can do so without stepping onto the roof. If the roof is too steep, slippery, or unstable, do not climb just to get a pitch number.
A practical attic method is to measure the rise and run from the underside of the roof framing. If rafters are exposed, you can often confirm the slope from inside without exposing yourself to fall risk. From an eave or ladder edge, a level and tape can sometimes be used to establish a horizontal run and vertical rise, but only if you can do it safely and maintain three points of contact on the ladder. If you cannot do that safely, stop and use another method.
If you must go onto the roof, use proper fall protection and stable footing. OSHA has clear guidance on fall protection and roof work, and that is not optional reading for anyone doing this regularly: OSHA fall protection guidance.
A practical field method
- Pick a representative section of roof. Avoid warped, damaged, or obstructed areas.
- Confirm the measurement method. Twelve inches is the standard reference because it simplifies pitch ratios.
- Measure the horizontal run and corresponding rise.
- If possible, verify the same slope from the attic, eave, or another safer vantage point.
- Enter both numbers into the calculator.
- Check the result against the roof area and the visual slope. If the number looks off, measure again.
The point is not to win a math contest. The point is to get a number you can trust without taking unnecessary risk.
How to Use a Roof Pitch Calculator Tool
The workflow is straightforward, but accuracy depends on clean input.
Step 1: Enter rise and run
Most tools ask for rise and run first. Enter the vertical rise and the horizontal run exactly as measured. If the calculator expects inches, do not mix in feet. If it wants a 12-inch run reference, keep the units consistent.
Step 2: Read the converted outputs
A solid calculator may show:
- roof pitch ratio
- roof angle in degrees
- percent grade
- rafter length
That is useful because you can verify the roof in more than one format without redoing the math.
Step 3: Use the result in the job decision
If you are estimating materials, the pitch helps you confirm whether the roof area and rafter length are in the range you expected. If you are planning labor, the pitch helps you judge access difficulty and safety setup. If you are checking a homeowner’s roof from a quick site visit, the result helps confirm whether your first impression was right.
The calculator is only as good as the numbers you feed it. Garbage in, garbage out still applies on roofing jobs.
Which Roof Pitch Calculator Format Is Best for You?
Different users need different tools. Here is the cleanest way to compare them.
| Tool format | Best for | Strengths | Trade-offs |
|---|---|---|---|
| Online calculator | Quick checks, office estimating, occasional use | Fast, easy to compare pitch, degrees, and percent | Needs internet access and careful data entry |
| Mobile app | Field use, on-site verification | Convenient on a phone or tablet, easy to carry | Interface quality varies, and screen size can slow input |
| Physical pitch gauge | Direct roof checks | Fast visual confirmation, no battery needed | Usually limited in conversion output and less useful for estimating |
If you are a contractor who moves between office and roof, an online calculator plus a mobile-friendly version is the most practical combination. If you are a homeowner checking one roof and not planning to do this often, a simple online tool is usually enough. If you are already on the roof and want a quick slope check, a physical gauge can be useful, but it will not replace a calculator when you need conversions.
What to Look for Before Choosing a Calculator
A roof pitch calculator tool should do more than give you one number.
Look for these features:
- Multiple output types. Pitch, degrees, percent, and rafter length are the most useful.
- Clear input labels. Rise and run should be obvious and unit-specific.
- Mobile-friendly layout. If you work on site, small buttons and clutter waste time.
- Easy verification. You should be able to check the result against a known pitch or chart.
- No hidden assumptions. Some tools expect a standard run, and some do not make that obvious.
If the tool only gives one format, you may end up converting it later by hand. That adds another chance to make a mistake. A better calculator reduces steps instead of creating them.
How Roof Pitch Affects Materials and Labor
Pitch is not just a geometry number. It changes the way the job gets built and priced.
Steeper roofs often slow crews down. They are harder to move on, harder to stage, and harder to work safely. That usually affects labor more than homeowners expect. Even when the roof area is similar, a steeper roof can take longer because access and handling are more demanding.
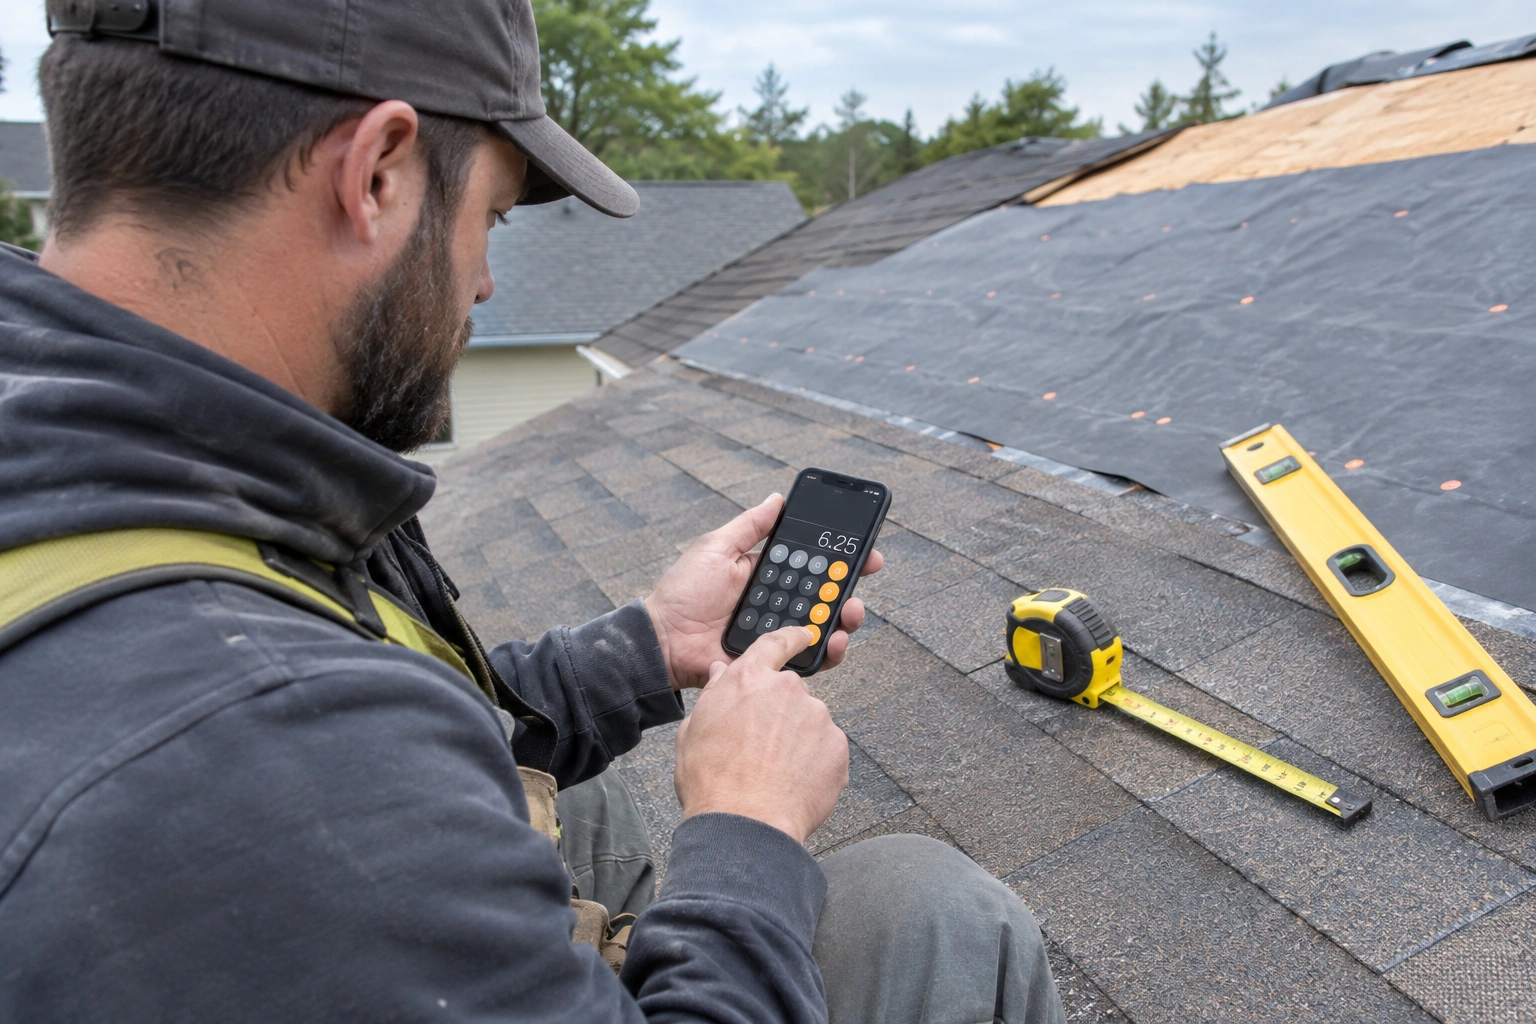
Pitch also affects material planning. A calculator that gives rafter length can help confirm framing or layout needs. Pitch also influences underlayment selection, shingle handling, and waste factors. Steeper or more complex roofs often require more careful staging, more cut waste, and more labor time for setup, tie-off, and material movement.
Manufacturer instructions, local code, and the roofing system’s minimum slope requirements should always control the final material choice. Do not rely on a general rule alone, because the acceptable slope can vary by product and installation method.
For estimating, a practical approach is to use the pitch result to:
– check whether the roof is likely to require special underlayment or system details,
– adjust waste allowances for cuts, hips, valleys, and steep sections,
– and add labor for safety setup, slower movement, and harder material handling.
A practical example
If you measure a roof and it comes back steeper than expected, do not just assume the same shingle plan will work. Recheck the pitch, confirm the product’s minimum slope guidance, and adjust labor if the roof is harder to access than a standard walkable slope.
Low-Slope vs. Steep-Slope Roofs
This is where pitch results become more than a number on a screen.
As a rough rule of thumb, low-slope roofs are often below about 3:12, while steep-slope roofs are often 4:12 and above. Some crews also treat the 3:12 to 4:12 range as a transition zone. Exact thresholds vary by material, system, and code, so use the rule of thumb only as a starting point.
Low-slope roofs behave differently from steep-slope roofs. Water moves more slowly on them, and they often need different materials or installation methods. Steeper roofs shed water faster, but they also create more safety and handling challenges.
Do not guess at the threshold. Different products and systems have different minimum slopes, and the manufacturer’s instructions matter. A calculator can tell you the pitch, but it cannot approve a product for you.
Common Measurement Mistakes to Avoid
Most bad roof pitch readings come from a few predictable mistakes.
Using the wrong run
If the calculator expects a 12-inch run and you enter something else without adjusting the math, the result will be wrong. Always confirm the unit and the reference run before entering numbers.
Measuring from a bad section
A sagging, damaged, or uneven section can distort the reading. Pick a representative area.
Mixing formats too early
If you convert to degrees, then round aggressively, then convert again, you can drift away from the true result. Keep the original measurement intact until you have the final number.
Confusing pitch and angle
A 6:12 pitch is not the same thing as 6 degrees. Those are different formats for describing slope.
Trusting one quick reading
If the number affects a quote, material order, or safety decision, check it again. One bad measurement can cost more than the few minutes it takes to verify.
Quick Conversion Reference: Pitch, Degrees, and Percent Grade
Use this as a field reference, not as a substitute for a calculator.
- Pitch ratio: x:12 format, such as 4:12 or 6:12
- Degrees: the roof’s slope angle
- Percent grade: rise divided by run, expressed as a percentage
A calculator page from Vertix explains the conversion logic as rise divided by run, then arctan, then multiply by 180/π for degrees. That is the standard trigonometric path behind most pitch-to-angle conversions. See the step-by-step method here: How to Calculate Roof Pitch Step by Step.
If you are comparing tools, this is the key question: does the calculator show the format you actually need on the job, or will you have to convert it again later?
When to Double-Check or Get a Professional Measurement
Call for a second measurement when the roof is complex, the pitch seems borderline for the material you want, or access is unsafe. That is especially true on steep roofs, roofs with multiple planes, or roofs where the pitch changes from one section to another.
For homeowners, this is the point where a professional measurement can prevent a bad material order. For contractors, it can prevent a bad estimate. If the roof is difficult to access, if the slope is near a product limit, or if the result will affect a quote or permit decision, verify it before moving forward.
Who Each Tool Type Is Best For
If you are a roofer or estimator, an online calculator with multiple output formats is the most useful because it supports quoting, verification, and quick conversion.
If you are a contractor working in the field, a mobile-friendly calculator or app is usually the best balance of speed and convenience.
If you are a DIY homeowner, a simple calculator that shows pitch and degrees is usually enough unless you are ordering materials yourself. In that case, choose one that also shows percent grade or rafter length.
If you are just trying to confirm whether a roof is shallow, standard, or steep, a physical gauge or a quick calculator check may be enough. If the answer changes what material you buy, use the more complete tool.
FAQ
How do I calculate roof pitch quickly?
Measure the rise and run, then express the slope as a ratio such as 6:12. You can also convert it to degrees with arctan(rise ÷ run) or to percent grade by dividing rise by run and multiplying by 100.
What is the easiest way to measure roof pitch safely?
The safest option is usually to verify from the attic, eave, or another place where you do not need to step onto the roof. If you cannot do that safely, do not climb just to get a pitch number.
What pitch is considered low-slope?
As a rough rule of thumb, roofs below about 3:12 are often considered low-slope, while 4:12 and above are often treated as steep-slope. Exact thresholds vary by material, system, and code.
Do I need pitch to estimate roofing materials?
Yes, pitch helps with estimating labor, waste, access difficulty, and whether a roofing system is suitable for the slope. It also helps confirm rafter length when that matters for layout or framing checks.
Final Take
A roof pitch calculator tool is worth using because it turns a basic field measurement into something you can actually build, estimate, and verify from. The best one is not the flashiest. It is the one that gives you the output you need, fits the way you work, and helps you avoid bad assumptions before they become expensive mistakes.
For more on how pitch changes quoting and project cost, see our guide on how roof pitch affects replacement cost. If you are comparing ways to measure a roof more broadly, our roof measurement tool buying guide is a good next step.