
Roof Measurement Tool Buying Guide: How to Choose the Right One for Accurate Estimates

A roof measurement tool is only useful if it helps you answer three questions fast and with enough confidence to price the job: how big is the roof, how steep is it, and how much material should I order. For a homeowner, that might mean estimating shingles for a simple ranch house. For a contractor, it may mean producing a clean takeoff, comparing bids, or checking whether a steep, broken roof needs a more detailed measurement method.
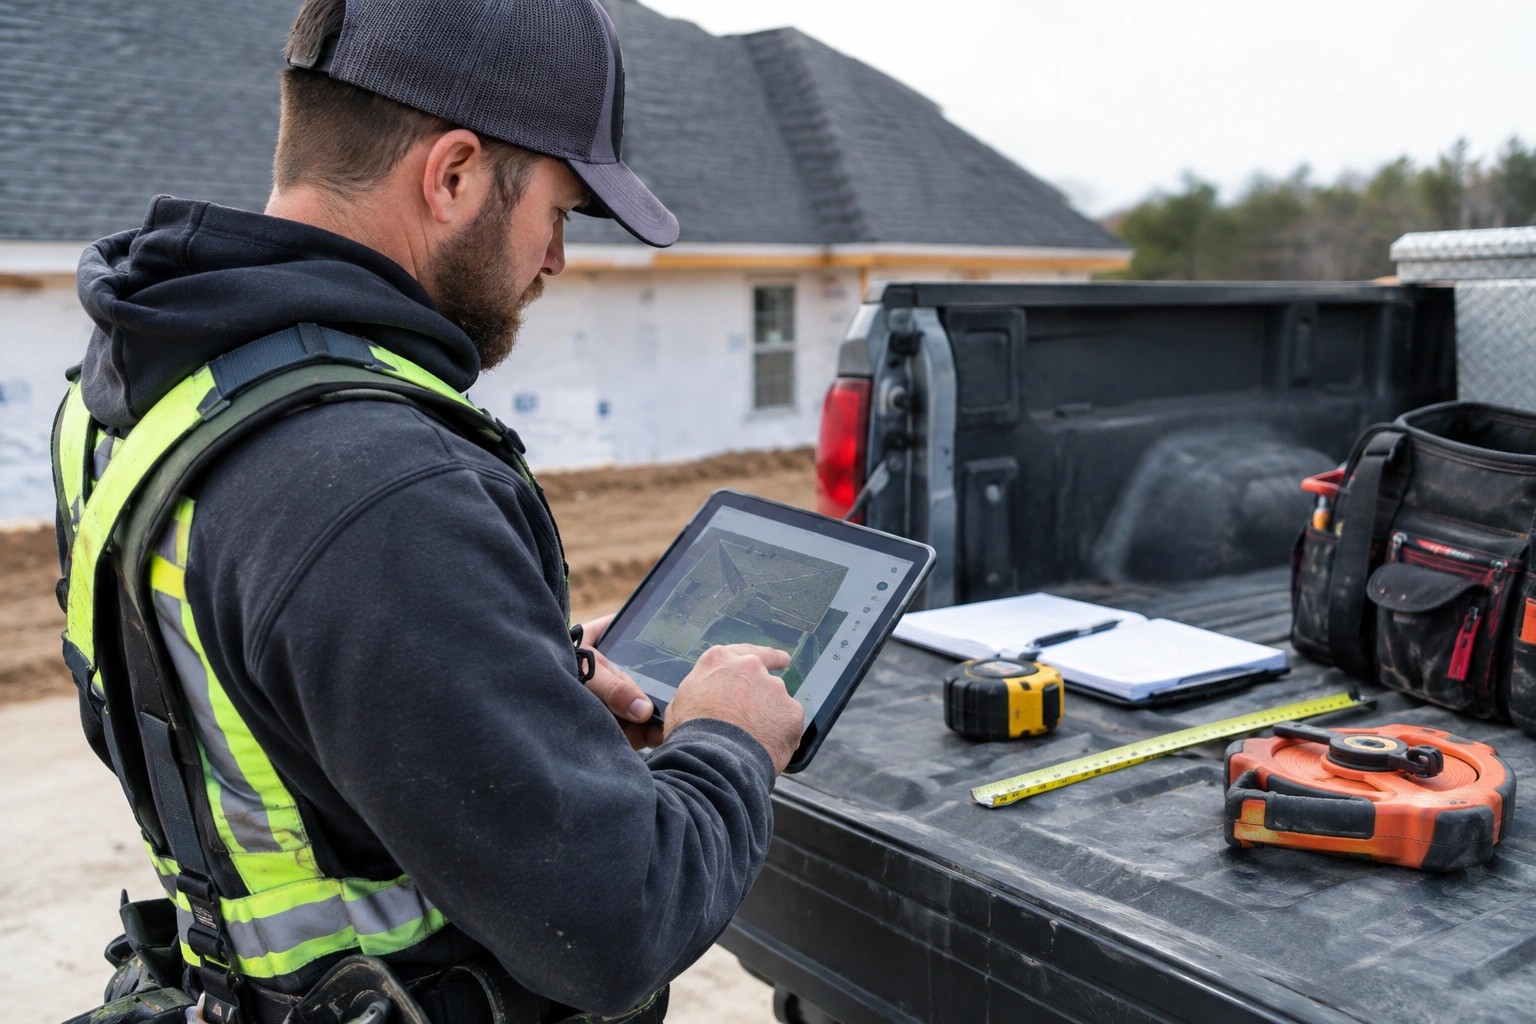
The hard part is that “roof measurement tool” can mean a lot of different things. It can be a tape, a laser distance measurer, a pitch gauge, an aerial measurement report, a drone workflow, or software that turns imagery into a material takeoff. Some tools are built for quick estimates. Others are built for final quoting. If you choose the wrong one, you either waste time on a simple roof or trust a shortcut on a roof that deserved a closer look.
What a Roof Measurement Tool Does
At its core, a roof measurement tool helps you measure roof area, pitch, slope, and sometimes individual roof segments. That matters because roof size alone does not tell you how much material to order. A 2,000-square-foot home can have very different roof areas depending on pitch, overhangs, dormers, valleys, and how broken up the design is.
A good roof measurement workflow gives you enough data to estimate shingles, underlayment, ridge cap, starter, drip edge, and waste. Some tools also produce diagrams, photos, pitch data, and direction labels. That makes it easier to turn measurements into a quote or material list without rebuilding everything by hand.
For contractors, the value is speed and repeatability. For DIY homeowners, the value is reducing the odds of overbuying or coming up short on material. The key is knowing whether the tool is giving you a rough estimate or a measurement strong enough to stand behind when money is on the line.
How Roof Measurement Tools Work
Roof measurement tools work in different ways, and the method matters more than the brand name.
Manual measurement
Manual tools include tape measures, measuring wheels, pitch gauges, and basic calculators. You measure what you can access, then use the pitch to adjust for slope. This method is straightforward, but it takes time and usually requires roof access or at least careful ground-based measurement. It works best on simple roofs with clear edges and few transitions. On complex roofs, manual methods can miss hidden sections or undercount waste if the layout is hard to follow.
Laser distance measurers
A laser distance measurer helps you capture lengths from the ground or from safe access points. It is useful for eaves, walls, and some roof edges when line of sight is clear. It does not magically solve roof complexity, but it can speed up the math for simple structures. It is strongest where you can see and target the surface directly; it is weaker when the roof has obstructions, deep overhangs, or angles that block the beam.
Aerial imagery and satellite-based tools
Aerial systems use imagery to estimate roof dimensions, pitch, and segments. They are usually best for generating a fast estimate from the office rather than capturing every detail on-site. They can be very effective for standard residential roofs, but the result should still be checked against the building, roof shape, and image date before final ordering. Jobber’s free roof measurement tool says it can produce a quick estimate and supports price-per-square inputs for quoting, but that should be treated as a fast estimating aid rather than a substitute for final verification on every job. Jobber’s free roof measurement tool
Drone-based measurement
Drone workflows are usually self-captured and can be useful when a roof is hard to access or when more visual detail is needed. In practice, drones are more of an on-site capture method than a pure estimate generator: you fly the roof, collect imagery, and then use software or manual review to build the measurement. That makes drones more flexible for complex roofs, but also more dependent on operator skill, flight conditions, and how the images are processed. They are especially useful when you need better visual confirmation than satellite imagery can provide, but you still want to avoid walking the roof.
App-based measurement
Apps may use your manual inputs, photos, or integrated imagery to generate a takeoff. Some are simple calculators. Others connect with estimating, CRM, and materials tools. The main value is workflow, not just measurement. If you already use software to build quotes, manage leads, and order materials, an app can reduce duplicate entry. If you only need one roof measured, the extra features may not matter.
Types of Roof Measurement Tools to Compare
Here is the practical comparison I use when deciding what belongs in the truck, the office, or the homeowner’s toolbox.
| Tool type | Accuracy potential | Speed | Learning curve | Safety | Best fit |
|---|---|---|---|---|---|
| Tape + pitch gauge | Good on simple roofs | Slow | Low | Lower if used from ground, higher if on roof | DIY, sheds, garages, and simple homes |
| Laser distance measurer | Good for straight runs | Fast | Low to moderate | Good from ground | Simple residential work and quick field checks |
| Aerial/satellite report | Strong for many standard roofs | Very fast | Low | Best for avoiding roof access | Contractors, estimators, and office quoting |
| Drone measurement | Strong when the roof is complex and capture is needed on-site | Moderate | Moderate to high | Good if no roof walk is needed | Complex homes, hard-to-access roofs, some commercial work |
| Measurement app | Varies by data source | Fast | Low to moderate | Depends on workflow | Office estimating, quoting, and integrated workflows |
The big trade-off is not just accuracy. It is how much roof complexity the tool can handle before the estimate needs a human check. A simple gable roof is easy to measure from the ground. A roof with multiple valleys, dormers, and steep sections is where a more detailed tool starts earning its keep.
Direct recommendation matrix
| Roof type / complexity | DIY homeowner | Small contractor | High-volume estimator | Budget level | Best choice |
|---|---|---|---|---|---|
| Simple ranch, garage, shed | Tape + pitch gauge or basic laser | Laser or simple app | App or aerial for speed | Low | Manual or laser |
| Standard suburban roof | Basic laser or free app | Aerial report or app | Aerial report | Low to mid | Aerial for repeatable quoting |
| Steep roof with limited access | Aerial or drone if needed | Aerial first, drone if detail is needed | Aerial plus verification workflow | Mid | Aerial, then verify critical dimensions |
| Complex roof with valleys, dormers, hips | Not ideal for DIY final ordering | Drone or aerial with manual check | Drone or advanced aerial workflow | Mid to high | Drone or aerial plus verification |
| Commercial or high-volume estimating | Not recommended for final ordering | Aerial and software | Aerial + software + CRM integration | Mid to high | Integrated software workflow |
SquaresForSales says the best aerial roof measurement tools for 2026 include SquaresForSales, EagleView, Roofr, and DroneDeploy, and that satellite-based tools are the fastest while aircraft and drone tools offer higher resolution for complex or commercial roofs. That matches how these tools are usually used in the field: speed for standard jobs, more detail when the roof gets complicated. SquaresForSales aerial roof measurement tools
How to Choose the Right Roof Measurement Tool
Pick the tool based on the job you actually do, not the one you hope every job will be.
Use these four decision rules
-
If the roof is simple and access is easy, keep it simple.
A tape, laser, and pitch gauge may be enough for a small house, garage, or shed. -
If you estimate often, pay for workflow speed.
A contractor doing repeated bids gets more value from reporting, exports, and CRM integration than from a slightly cheaper tool. -
If the roof is steep, broken up, or risky to walk, prioritize ground-based or aerial measurement.
Safety and access should drive the method, not habit. -
If the number will be used for final ordering, verify it.
That can mean a second measurement method, a roof walk, or a paid report rather than a free estimate.
ServiceTitan’s guidance is useful here: buying a roof measurement report is often one of the easiest ways to get a ready-to-use measurement, while handheld tools have more of a learning curve. That does not make handheld tools bad. It just means they reward skill and discipline more than software does. ServiceTitan roof measuring tools
Accuracy, Limitations, and Common Sources of Error
Most measurement errors come from the same places: missed roof sections, bad pitch assumptions, unclear edges, and forgetting waste.
Aerial and app-based tools can miss details if the imagery is outdated, the roof is partially blocked, or the building you selected is not the one you meant to measure. Build-Folio specifically advises reviewing the source and confirming the subject building before relying on the estimate, and suggests using one size reference to compare quote scope while checking the imagery date. That is exactly the kind of habit that prevents expensive mistakes.
Manual tools have a different problem. They can be very accurate on the section you actually measured, but they are easier to undercount when the roof has multiple planes or hidden transitions. If you cannot safely or clearly measure every segment, your “accuracy” can be misleading.
My rule: the more complex the roof, the more you should expect the first measurement to be a starting point, not the final answer.
Roof Pitch, Slope, and Area: What You Need to Measure
For roofing work, the three numbers that matter most are roof area, pitch, and segment layout.
- Roof area tells you how much surface you are covering.
- Pitch tells you how steep the roof is and helps convert footprint into actual surface area.
- Segment layout tells you where valleys, hips, ridges, and transitions add complexity and waste.
If you are estimating shingles, pitch matters because steeper roofs usually have more surface area than the footprint suggests. If you are estimating flashings or ridge cap, segment count matters because a broken roof creates more edges and transitions.
Build-Folio’s free roof measurement tool says it provides an imagery-based estimate of roof area, pitch, and segment data. That combination is useful because area without pitch is incomplete, and pitch without segment data can still leave you short on material details. Build-Folio free roof measurement tool
Ground-Based vs On-Roof Measurement
Ground-based measurement is usually the safer first choice when it can answer the question. If you can measure from the ground with a laser, or use a reliable aerial report, there is no prize for climbing a roof just to confirm a simple dimension.
On-roof measurement still has a place. It is useful when imagery is unclear, when the roof is highly irregular, or when you need to confirm damage, penetrations, or unusual framing conditions. But it comes with fall risk, setup time, and the possibility of missing something because the surface is awkward or unsafe.
The practical rule is this: use the least risky method that still gives you a trustworthy number. If the roof is steep, wet, brittle, or difficult to access, that usually means staying off it unless you truly need to be there.
For safety basics, OSHA’s roofing and fall protection guidance is worth reviewing before anyone climbs. OSHA fall protection resources
Manual Tools vs Digital Tools: Trade-Offs That Matter
Manual tools win on cost, simplicity, and independence. You do not need a subscription, a report turnaround, or a software login. For a homeowner measuring one roof every decade, that matters.
Digital tools win on speed, reporting, and repeatability. If you are writing estimates all week, the ability to generate a roof report, attach photos, and move that data into a quote can save real time. Roofr says its roof measurement software can produce reports that include aerial photos, measurements, pitch and direction diagrams, area data, and waste percentage calculations. That is the kind of output a contractor can use without rebuilding the takeoff from scratch. Roofr roof measurement software
The catch is that digital convenience can make people lazy. If you do not check the roof source, the date, and the building match, a polished report can still be wrong.
Laser Measurers vs Drone-Based and Aerial Systems
Laser measurers are best when you need quick straight-line measurements and can see what you are measuring. They are affordable compared with full aerial workflows, and they fit well into a field bag.
Drone and aerial systems are better when access is limited or the roof is too complex for a quick manual pass. DroneDeploy and similar tools can be useful when you want self-captured imagery, while satellite and aircraft-based reports are often faster to obtain. The trade-off is setup, cost, and how much detail you need for the job.
Use this simple guide:
- Choose a laser measurer for simple residential work, fences, walls, and straight roof runs.
- Choose aerial imagery for fast office-based estimating and repeatable takeoffs.
- Choose a drone workflow when the roof is complex, the site is hard to access, or you need more visual control over what is being measured.
Roof Measurement Apps and Software Features Worth Paying For
The features worth paying for are the ones that reduce rework.
Worth paying for
- Roof area and pitch reporting
- Segment diagrams and labeled roof planes
- Waste calculations
- Exportable reports
- CRM, estimating, or materials integration
- Branded quotes and line-item flexibility
Usually marketing fluff unless you need it
- Flashy dashboards that do not improve the takeoff
- Fancy visuals without clear measurements
- Extra automation that does not match your workflow
Jobber’s free tool is a good example of a limited but useful workflow: it can generate a usable estimate quickly, and if you log in, you can turn it into a branded quote with custom line items, markup, images, and deposit collection. That is useful for a contractor who wants to move from measurement to customer-facing paperwork without rebuilding the estimate. Jobber roof estimate tool
How to Turn Roof Measurements Into Material Estimates
Once you have roof area, the next step is converting it into material quantities. For shingles, that usually means dividing by roofing squares and then adding waste based on roof complexity. A roofing square is 100 square feet, so a 2,400-square-foot roof area is 24 squares before waste.
That is only the starting point. Valleys, hips, dormers, starter course, ridge cap, and cut-heavy layouts increase waste. A simple roof may need less extra material than a complex one, but you should still account for offcuts and manufacturer packaging.
A practical workflow looks like this:
- Measure total roof area.
- Convert to squares.
- Add waste for complexity.
- Add accessory materials separately.
- Verify against the roof layout before ordering.
A simple waste-factor framework
Use waste as a planning allowance, then adjust based on roof complexity:
- Simple roof: lower waste allowance
- Moderately complex roof: medium waste allowance
- Complex roof with many cuts, valleys, or dormers: higher waste allowance
The exact percentage depends on the roof layout and material type, but the point is to avoid using one flat waste number for every job. A simple gable roof and a cut-heavy roof should not be treated the same.
Don’t forget accessory materials
Shingles are only part of the order. A usable estimate usually also includes:
- Underlayment
- Starter strip or starter shingles
- Ridge cap
- Drip edge
- Flashing
- Ice and water shield, where required
- Fasteners
- Ventilation components
- Sealant or roofing cement, if needed
- Pipe boots and other penetration accessories
A basic takeoff should at least separate field shingles from linear accessories. For example, ridge cap and drip edge are typically tied to roof edges and ridges, not just total area. That means a roof with more hips, ridges, or perimeter length needs more accessory material even if the square footage is similar.
If you are a homeowner, this is where a tool helps you avoid a false bargain. Ordering too little costs time and second-trip fees. Ordering too much ties up money and leaves leftovers you may never use.
Price and Value: What to Expect to Spend
I’m not going to pretend there is one right price, because tool pricing changes and vendors package features differently. What matters is how often you will use it and what it saves you.
A more practical way to think about budget is by cost band:
- Manual tools: lowest cost, usually the best budget choice for occasional use
- Laser distance measurers: low to moderate cost, good for simple field measurement
- App-based tools: often low entry cost, with pricing that can range from free to subscription-based depending on features
- Aerial measurement reports or software: moderate recurring cost, usually better for contractors and estimators who measure often
- Drone workflows: moderate to higher total cost once you account for hardware, software, and operator time
A free calculator can be enough for a homeowner trying to get a ballpark estimate. A paid report or subscription makes more sense when you are bidding regularly and need consistent outputs.
Think in terms of total value:
– Does it save a truck roll?
– Does it reduce remeasurement?
– Does it help you quote faster?
– Does it produce a cleaner customer-facing estimate?
If the answer is yes, the tool may be worth more than its sticker price.
Best Use Cases and Alternatives
For a simple residential roof, a manual setup or laser measurer may be enough if you know how to use it.
For a steep or complex roof, aerial or drone-based measurement is usually the smarter first pass because it reduces risk and catches more detail.
For a contractor who estimates every week, software that produces reports, diagrams, and exportable quotes is usually the best value.
For a DIY homeowner, a free or low-cost tool can be enough for budgeting, but final ordering should be based on a verified measurement, not a guess.
If you do not want to buy a dedicated tool, your best alternative is often a hybrid approach: use a free aerial estimate for planning, then confirm critical dimensions with a tape, laser, or roofer’s report before purchase.
Safety, Verification, and Liability Considerations
Roof measurement is not just a math problem. It is a fall-risk problem and a liability problem.
Use the least risky method that still gives you a trustworthy number. Do not climb a roof just because you own a ladder, and do not treat a polished report as final if the building, image date, or roof layout has not been checked. On complex roofs, verification matters as much as the first measurement. If the roof is steep, damaged, wet, brittle, or hard to access, ground-based or aerial methods are usually the safer choice.
There is also a business risk: if you are a contractor, a bad takeoff can lead to underordered material, change orders, delays, or disputes. That is why final verification matters more than speed when the estimate is going to a customer or supplier.
When to Call a Roofing Pro
Call a roofing pro when the roof is steep, damaged, hard to access, or too complex for a clean ground-based measurement. That is also the right move if you are trying to turn measurements into a final bid and do not have confidence in the layout, waste factor, or material conversion.
A pro is not just bringing labor. They are bringing a better way to verify the numbers before money gets spent.
Final Buying Recommendation by User Type
If you are a DIY homeowner, buy the simplest tool that gives you a trustworthy area and pitch estimate without forcing you onto the roof unnecessarily. For most homeowners, that means a manual tool or basic laser for simple roofs, and a free or low-cost aerial estimate when the roof is harder to access.
If you are a small contractor, prioritize a roof measurement tool that saves time and produces usable reports you can turn into quotes. Aerial reports or a strong app-based workflow usually make the most sense because they balance speed, consistency, and cost.
If you are a high-volume roofer or estimator, pay for the workflow: reporting, integrations, and repeatability matter more than saving a few dollars per measurement. In that case, an aerial-plus-software stack is usually the best fit, with drone capture reserved for roofs that need more detail.
If the roof is simple, keep the process simple. If the roof is complex, spend for the method that reduces rework and risk. That is the real buying test.
FAQ
What is the easiest roof measurement tool for beginners?
For simple roofs, a laser distance measurer or a basic app is usually the easiest starting point. If the roof is complex, an aerial report may be easier than trying to measure everything manually.
Are aerial roof measurements accurate enough for ordering materials?
They can be, especially for standard roofs, but they should be checked against the actual roof layout, image date, and any unusual features before final ordering.
What tool is best for steep or hard-to-access roofs?
Aerial or drone-based measurement is usually the better choice because it reduces the need to walk the roof.
How much waste should I add for roofing materials?
Use a lower waste allowance for simple roofs and a higher one for roofs with valleys, hips, dormers, and lots of cuts. The more complex the roof, the more waste you should plan for.
Do I need more than shingles in my material estimate?
Yes. A complete estimate should also account for underlayment, starter, ridge cap, drip edge, flashing, fasteners, and other accessory materials.